By Victoria Qiu · · 2 min read
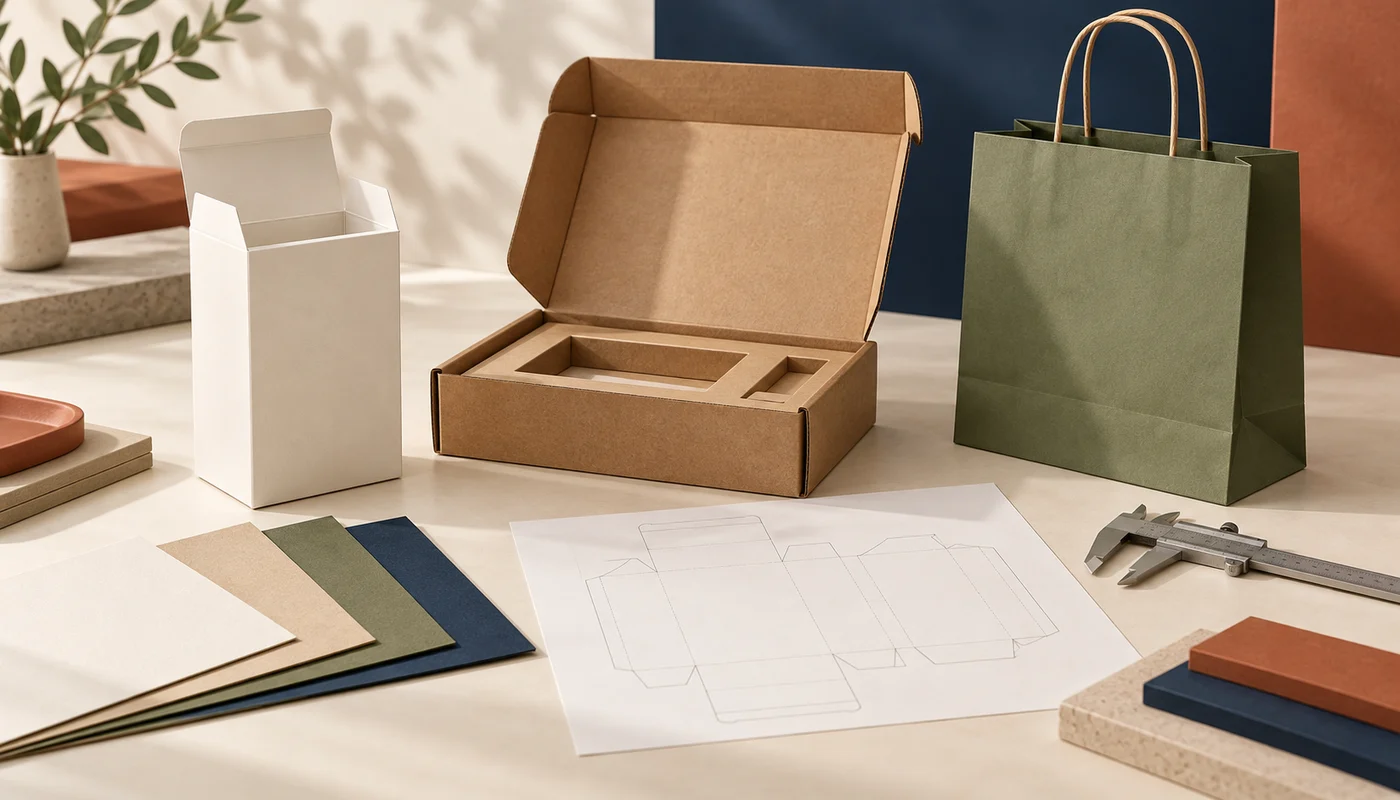
Use the agreed dieline
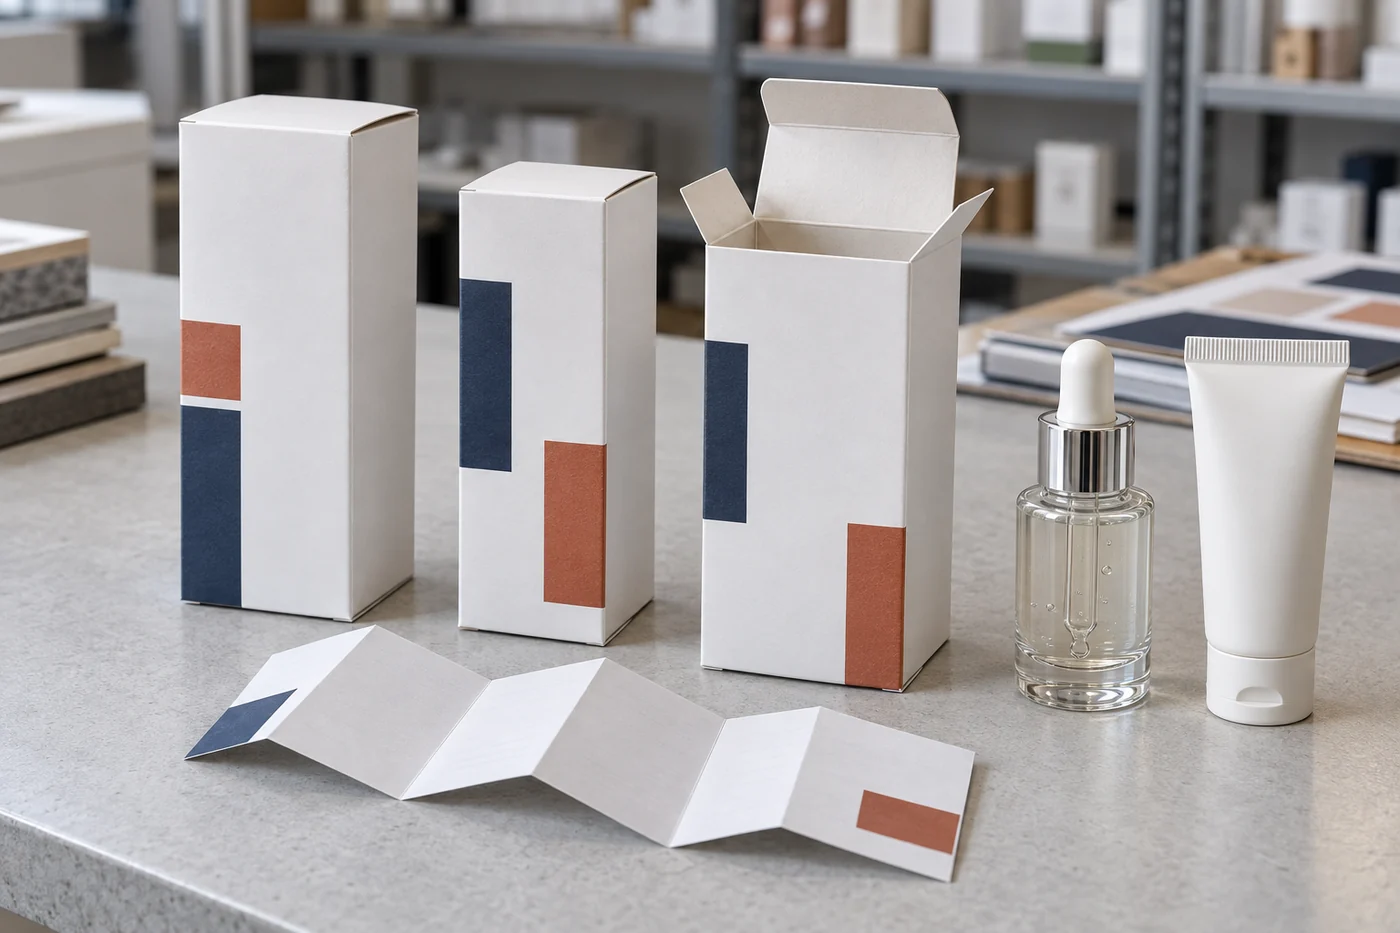
A dieline is the flat drawing that marks the cuts and folds of a pack. Confirm that it matches the approved dimensions before placing artwork. Keep essential text clear of folds, cuts and glue areas. Never resize a finished dieline casually to make a design fit.
Check trim, bleed and safe areas
Bleed extends artwork beyond the trim edge so small cutting variations do not leave an unwanted white line. The required amount and safety margins should come from the production specification. Check every panel and page, not just the front face.
Prepare images and fonts
Use suitable-resolution images at the size they will print. Confirm font handling with the supplier: embedded fonts or outlined text may be requested. Keep an editable working file as well as the approved output file, and review the final export visually.
Clarify colour expectations
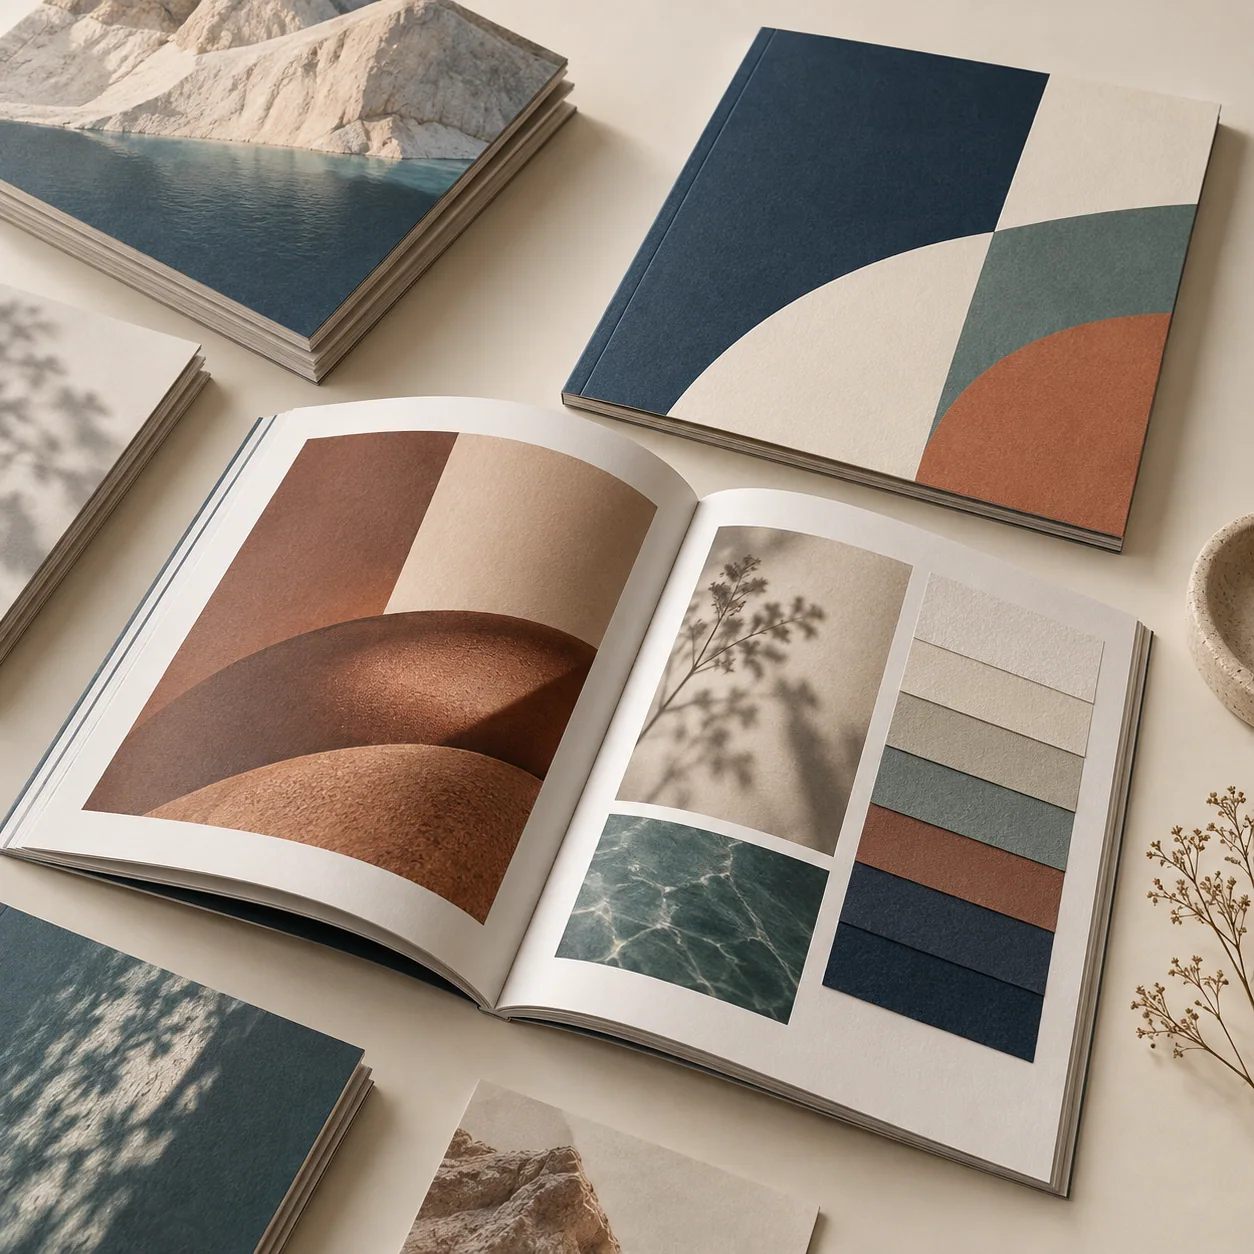
A backlit screen is not a printed sheet. Confirm the colour setup and proofing route, especially for brand colours. Different papers and finishes can change the appearance. State which colours are critical and agree how the result will be evaluated.
Separate finishing artwork
Foil, spot coating, embossing and other finishing areas may need distinct layers or files. Ask how they should be named and supplied. Very fine details may not reproduce in the same way as ordinary ink, so review limitations before approving the artwork.
Approve content and version together
Check spelling, translations, product information, warnings and barcodes under your own approval process. Add a clear revision name and confirm the final file list. Production-readiness review does not replace responsibility for technical, legal or regulatory content.
General guidance only. Discuss the product-specific materials, process, market requirements and testing before approving production.